Grok CLI (Unofficial)
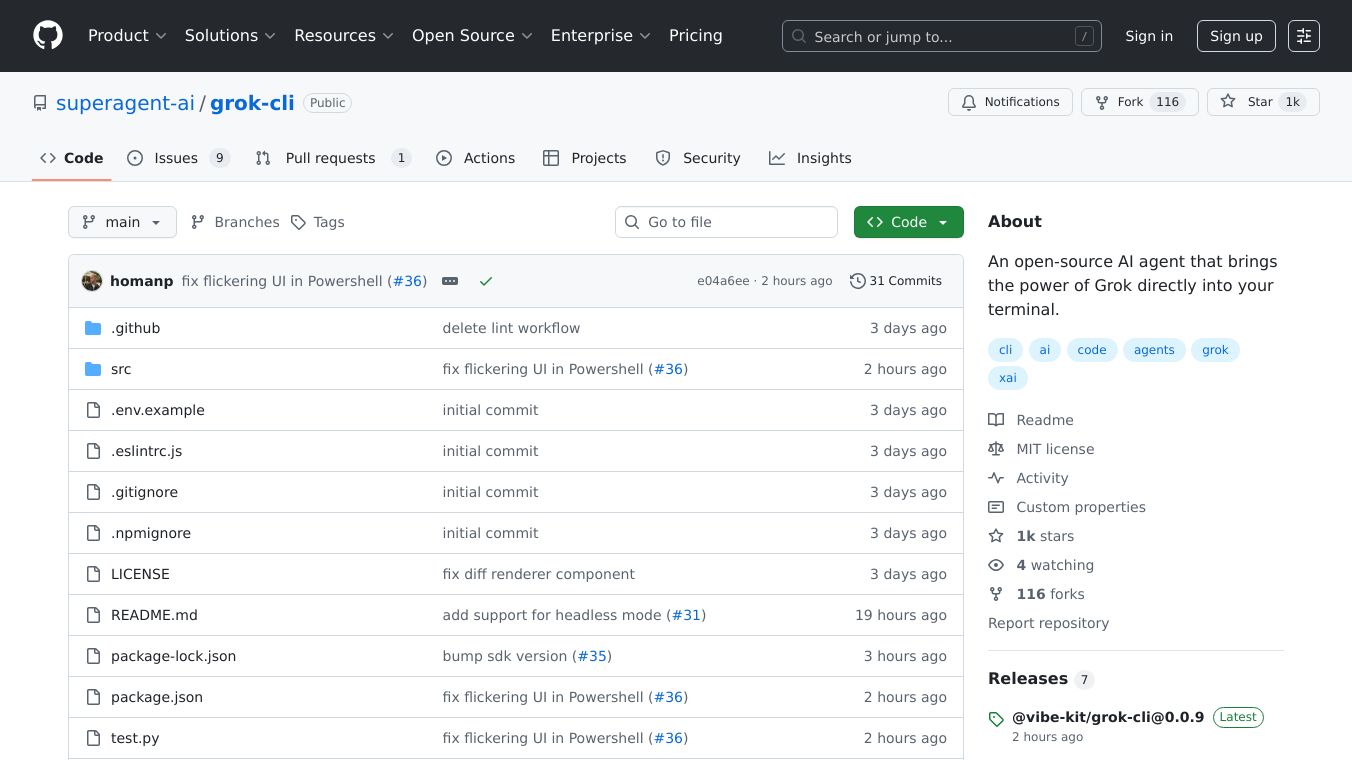
Grok CLI (Unofficial) is an open-source AI agent that brings the power of Grok directly into your terminal. It is a conversational AI command-line interface (CLI) tool powered by Grok, designed to enhance your productivity with intelligent text editor capabilities and seamless tool integration.
Benefits
- Conversational AI: Grok CLI offers a natural language interface powered by Grok-3, allowing you to interact with your terminal using simple, everyday language.
- Smart File Operations: The AI automatically uses tools to view, create, and edit files, making file management effortless.
- Bash Integration: Execute shell commands through natural conversation, eliminating the need to remember complex command syntax.
- Automatic Tool Selection: The AI intelligently chooses the right tools for your requests, ensuring efficient and accurate task completion.
- Interactive UI: Features a beautiful terminal interface built with Ink, providing an intuitive and user-friendly experience.
- Global Installation: Install and use Grok CLI anywhere with a simple command, making it accessible from any terminal.
Use Cases
Grok CLI is versatile and can be used in various scenarios:*Software Development: Streamline coding tasks by using natural language to create, edit, and manage files.*System Administration: Execute shell commands and manage files without needing to remember specific command-line syntax.*Automation: Integrate AI assistance into shell scripts and CI/CD pipelines for automated code analysis and file operations.*Terminal Benchmarks: Ideal for tools like Terminal Bench that require non-interactive execution.*Batch Processing: Process multiple prompts programmatically, enhancing productivity and efficiency.
Installation
Prerequisites
- Node.js 16+
- Grok API key from X.AI
Global Installation (Recommended)
npm install -g @vibe-kit/grok-cliLocal Development
git clone <repository>cd grok-clinpm installnpm run buildnpm linkSetup
- Get your Grok API key from X.AI.
- Set up your API key using one of the following methods:
Method 1: Environment Variable
export GROK_API_KEY=your_api_key_hereMethod 2: .env File
cp .env.example .env# Edit .env and add your API keyMethod 3: Command Line Flag
grok --api-key your_api_key_hereMethod 4: User Settings FileCreate~/.grok/user-settings.json:
{"apiKey": "your_api_key_here"}Custom Base URL (Optional)
You can configure a custom Grok API endpoint using one of the following methods:
Method 1: Environment Variable
export GROK_BASE_URL=https://your-custom-endpoint.com/v1Method 2: Command Line Flag
grok --api-key your_api_key_here --baseurl https://your-custom-endpoint.com/v1Method 3: User Settings FileAdd to~/.grok/user-settings.json:
{"apiKey": "your_api_key_here","baseURL": "https://your-custom-endpoint.com/v1"}Usage
Interactive Mode
Start the conversational AI assistant:
grokOr specify a working directory:
grok -d /path/to/projectHeadless Mode
Process a single prompt and exit (useful for scripting and automation):
grok --prompt "show me the package.json file"grok -p "create a new file called example.js with a hello world function"grok --prompt "run npm test and show me the results" --directory /path/to/projectThis mode is particularly useful for:*CI/CD pipelines: Automate code analysis and file operations.*Scripting: Integrate AI assistance into shell scripts.*Terminal benchmarks: Perfect for tools like Terminal Bench that need non-interactive execution.*Batch processing: Process multiple prompts programmatically.
Model Selection
You can specify which AI model to use with the--modelparameter:
# Use Grok modelsgrok --model grok-4-latestgrok --model grok-3-latestgrok --model grok-3-fast# Use other models (with appropriate API endpoint)grok --model gemini-2.5-pro --base-url https://api-endpoint.com/v1grok --model claude-sonnet-4-20250514 --base-url https://api-endpoint.com/v1Command Line Options
grok [options]Options:-V, --version output the version number-d, --directory <dir> set working directory-k, --api-key <key> Grok API key (or set GROK_API_KEY env var)-u, --base-url <url> Grok API base URL (or set GROK_BASE_URL env var)-m, --model <model> AI model to use (e.g., grok-4-latest, grok-3-latest)-p, --prompt <prompt> process a single prompt and exit (headless mode)-h, --help display help for commandCustom Instructions
You can provide custom instructions to tailor Grok's behavior to your project by creating a.grok/GROK.mdfile in your project directory:
mkdir .grokCreate.grok/GROK.mdwith your custom instructions:
# Custom Instructions for Grok CLIAlways use TypeScript for any new code files.When creating React components, use functional components with hooks.Prefer const assertions and explicit typing over inference where it improves clarity.Always add JSDoc comments for public functions and interfaces.Follow the existing code style and patterns in this project.Grok will automatically load and follow these instructions when working in your project directory. The custom instructions are added to Grok's system prompt and take priority over default behavior.
Example Conversations
Instead of typing commands, just tell Grok what you want to do:
🖥️ "Show me the contents of package.json"🖥️ "Create a new file called hello.js with a simple console.log"🖥️ "Find all TypeScript files in the src directory"🖥️ "Replace 'oldFunction' with 'newFunction' in all JS files"🖥️ "Run the tests and show me the results"🖥️ "What's the current directory structure?"Development
# Install dependenciesnpm install# Development modenpm run dev# Build projectnpm run build# Run linternpm run lint# Type checknpm run typecheckArchitecture
- Agent: Core command processing and execution logic
- Tools: Text editor and bash tool implementations
- UI: Ink-based terminal interface components
- Types: TypeScript definitions for the entire system
License
MIT
About
An open-source AI agent that brings the power of Grok directly into your terminal.


Comments
Please log in to post a comment.